Table notes
Bar-height restaurant booths paired with the table and the room
From the doorway, a raised booth can bring a party into the life of the room. The guests see over nearby tables, and the arrangement can relate to a bar without placing every seat directly at the counter. That effect begins with a comfortable seat and table pairing.
Bar-height restaurant booths need a closer section drawing than their dining-height neighbors. Seat height, table underside, foot support, and the route into the booth all meet in one place. Review those relationships before repeating a booth along a wall or through the center of the dining room.

Open diagram at full size (new tab) ↗
Read the diagram in text
Worked booth section: a 42-inch tabletop minus a selected 30-inch seat gives 12 inches. Back height is separate. The actual table underside, foot support, and route into the seat need a full-size trial.
- RESERVE / FURNITURE NOTES
- Back height is separate
- Seat
- 12-inch difference
- Trial tabletop: 42 inches
- Selected seat: 30 inches
- Check entry: and foot support
- A full-size sitting trial checks the underside and occupied movement.
- Use the dimensions and approved combinations for the selected furniture.
Separate the heights on the drawing
Write the seat height beside the seat, and the overall booth height beside the back. They describe different parts. A tall back on a standard-height booth does not make it a bar-height seat.
On the plain-back bar-height booth, the seat-height option is 30 inches. Its listed overall-height choices are 48, 54, and 60 inches. Those choices belong on separate lines in the purchase order so a change to the back doesn't get mistaken for a change to the seat.
For a worked pairing, a 42-inch table surface beside a 30-inch seat leaves a difference of 12 inches. Measure the underside as well. An apron or attachment can occupy part of that opening, and the front of the cushion can affect how the guest reaches the table.
Keep two checks together:
- Seat to tabletop, followed by seat to the lowest obstruction beneath the top.
- The guest's sitting position, followed by the movement needed to enter and leave it.
The seat-to-table fit guide develops that section drawing further. Confirm the selected furniture's dimensions rather than turning the example into a fixed clearance for every booth.
Choose the support with the seat
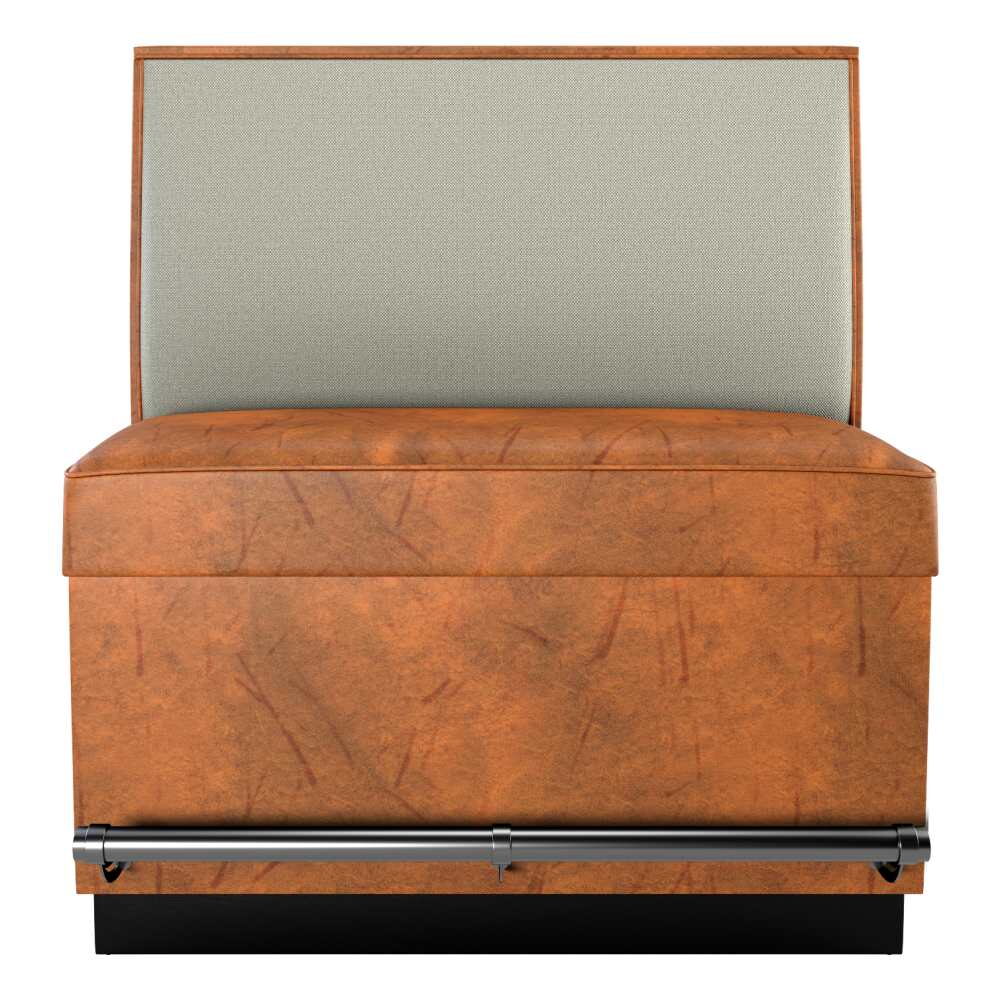
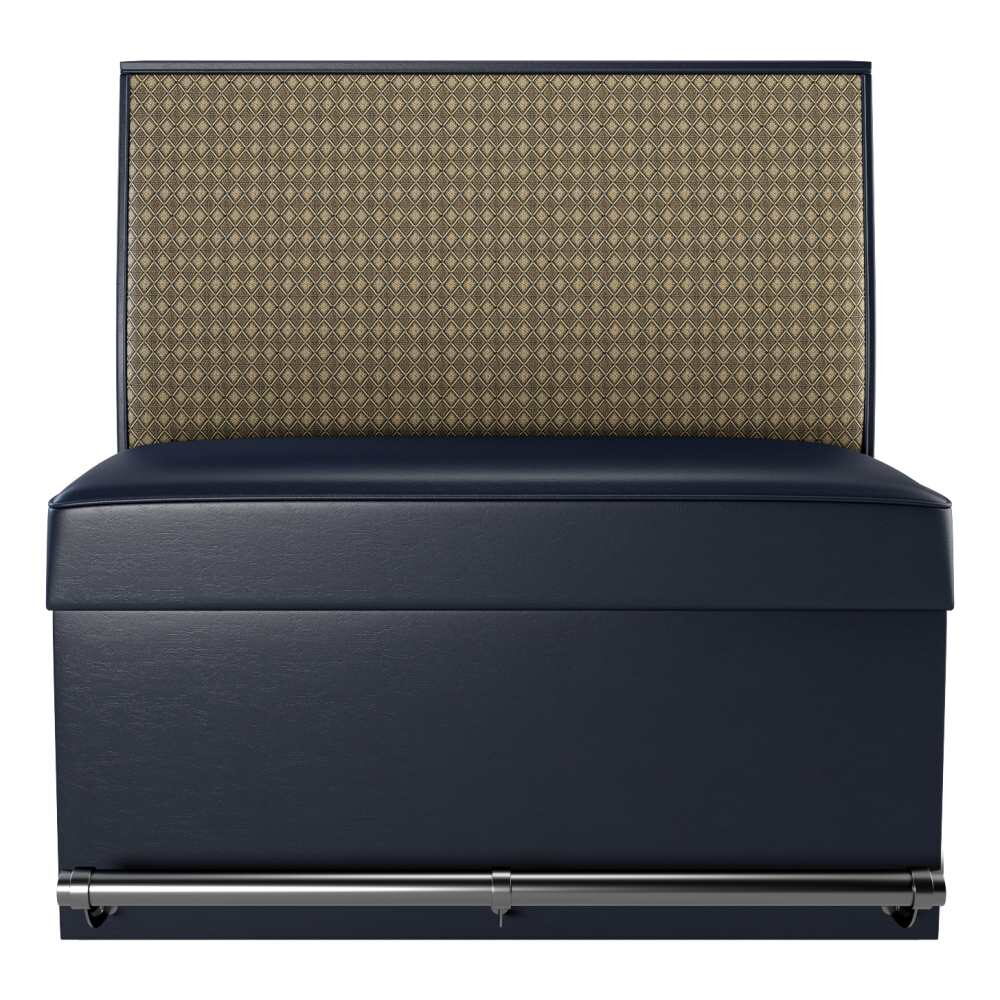
A raised booth is a complete seating unit. The wood-legged bar-height booth also lists a 30-inch seat option, while its support and finish choices differ from the padded-base model. Compare those exact configurations before deciding how the row will look from the aisle.
Under the table, the base has a separate job. Its feet must work with the booth opening and the guest's foot position. An attractive top can still create an awkward pairing if a support sits where people need to enter.
Browse bar-height tables as complete candidates where possible. For a separately purchased top and base, confirm their approved pairing and the resulting table height. Adding a nominal base height to a tabletop thickness may miss the way they are assembled.
The table-base comparison helps you examine the underside. Put the base footprint in the same drawing as the booth, then test the open end with someone approaching the seat. A photograph taken from above rarely settles that movement.
Give feet somewhere to rest
Sit long enough to notice what happens below the table. Test whether the selected foot support can be reached comfortably. Watch for a strained position or a guest resting their weight on a table component that serves another purpose.
Footrests and steps vary by model and configuration. Read what is included and what is an option, and obtain the relevant dimensions before approving the assembly. Don't add an improvised block to resolve a purchase decision that remains open.
Try the entrance with the table in its proposed position. Watch the turn, the rise to the seat, and the movement back out. Coat storage can matter here too; a bag placed in the only open space may change an arrangement that seemed comfortable during an empty-room trial.
Keep other seating choices nearby. The inclusive seating guide can help you plan alternatives, while the project's design professional should review the applicable access requirements. A raised booth should be one choice within the room's seating mix.
Look across the room from both sides
The back changes two views. Guests see it from their table, and staff see it while watching the room. Mock up the chosen overall height before deciding that a raised row belongs between the entrance and the rest of the dining area.
For a simple comparison, mark proposed backs at 48 and 60 inches in the same position. The difference is 12 inches, but the effect depends on the observer's position and the room around it. Check from the host station, then from an occupied neighboring seat.
The high-back booth guide explores that visual relationship. A taller back can screen a view; any claim about sound control needs separate evidence. Keep those two goals distinct when describing the brief.
An island arrangement also exposes the ends and rear. Compare the finish on those surfaces through the booth divider guide, and confirm the selected unit is suitable for that placement. The way a single unit meets a wall differs from the way a double unit faces two tables.
Price a complete repeated arrangement
Count booth units and dining positions separately. One double booth is a different purchase from two single units, even if a sketch puts a similar number of seats around nearby tables. Use the actual listing's selling unit and shape throughout the calculation.
Say a proposed section uses two booth units and two tables. Price those four furniture lines in their selected configurations before adding any loose chairs at the ends. Keep delivery and installation work outside that subtotal until their scope is confirmed.
Two details belong beside each booth line:
- The chosen shape, length, overall height, and seat-height option.
- The selected back covering, seat covering, and support finish.
The booth project-cost guide covers the rest of the purchasing scope. If upholstery choices differ between the seat and back, label them clearly and retain the approved material samples with the order notes.
Set the first table for a full sitting
Before approving the repeated row, put a complete place setting at one tested position. Sit through the kind of meal or drink service planned for that part of the restaurant. Adjust the proposal while the choice is still on paper.
Save the accepted relationship in your seating plan, including the table, support, and the exact booth configuration. A final photograph from the open end should show how the guest gets in, where feet rest, and which part of the aisle remains available when the place is occupied.